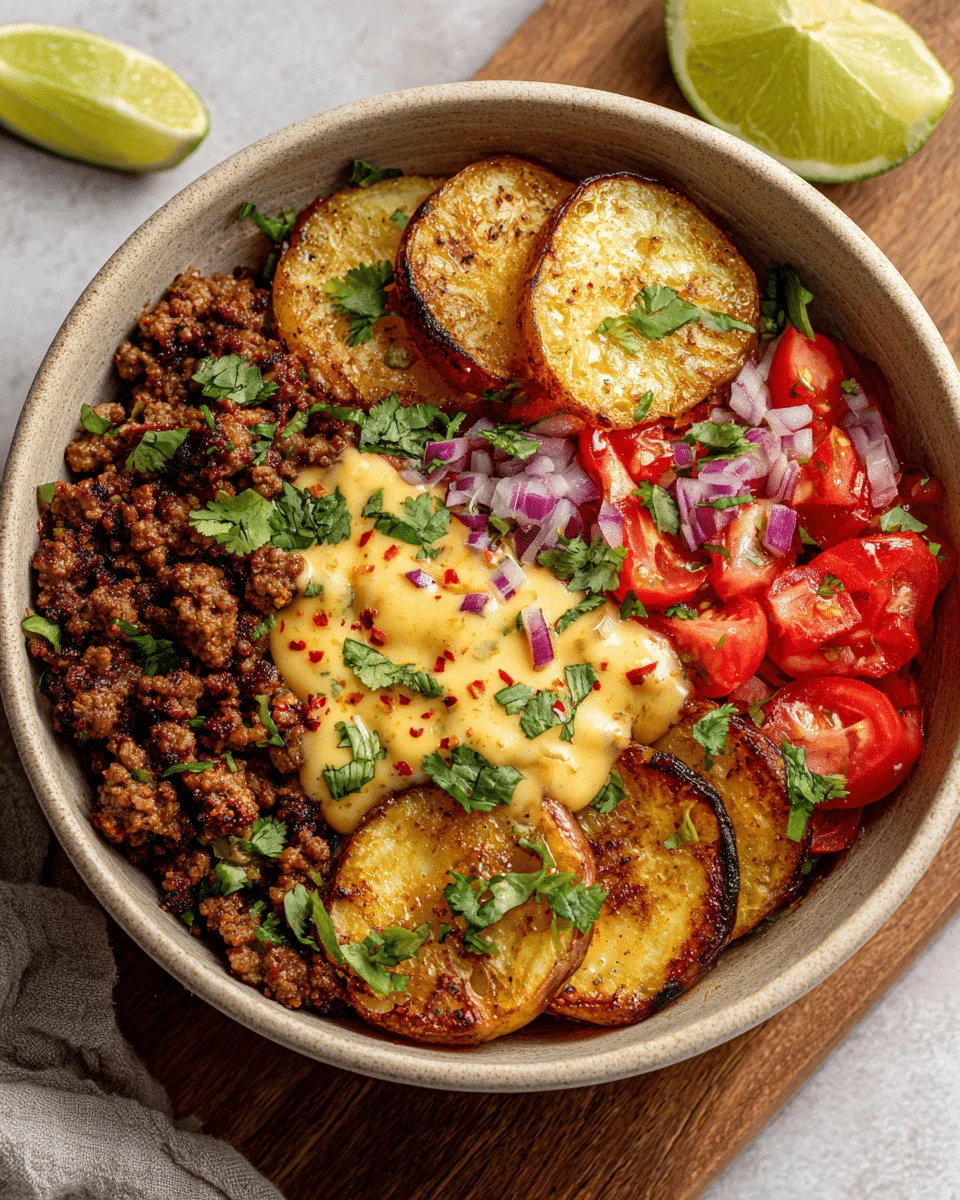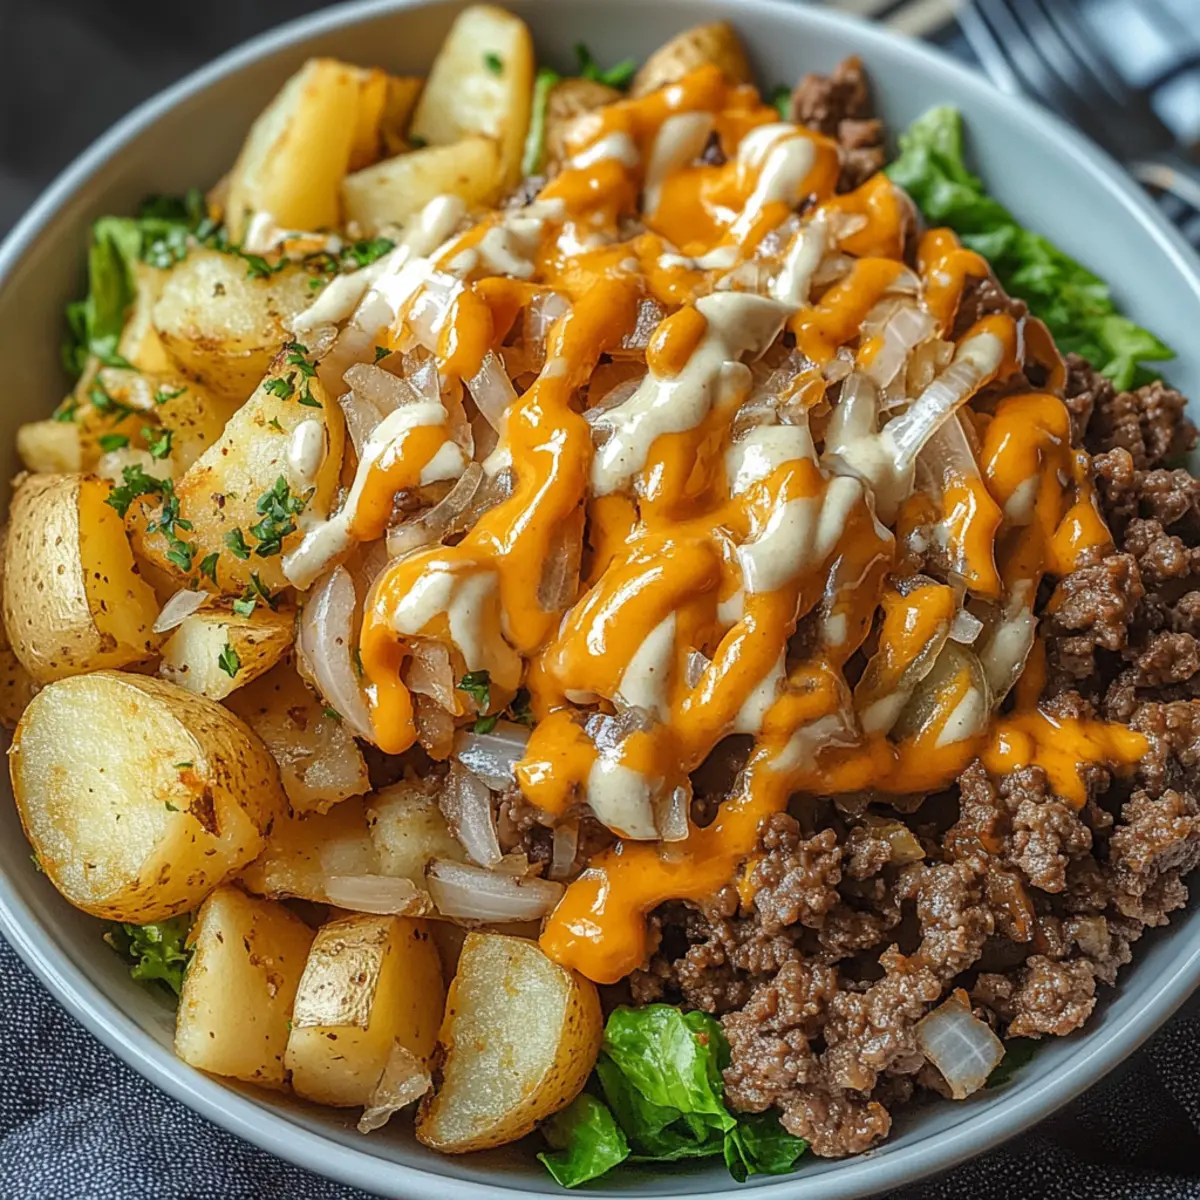
Everything worth eating about a cheeseburger shows up in this bowl. The crispy, caramelized beef with its lacey edges. The crunch of cold iceberg against warm meat. The pickles, the sharp cheddar, the tomatoes. And a tangy special sauce spooned over all of it that tastes exactly like what a diner would put on a smash burger. The bun is the only thing missing, and you won’t miss it.
This smash burger bowl delivers all the flavor of a classic diner burger in a format that’s faster to make at home than most people realize. The smashing technique is what makes the beef worth eating on its own, not just as a burger component. Maximum contact with a screaming hot cast-iron pan creates those deeply caramelized, slightly crispy edges that the ground beef technique is known for, and that texture is what carries the whole bowl.
Thirty minutes, one hot skillet, and a dinner that hits every note a good cheeseburger should.
Why You’ll Love This Loaded Smash Burger Bowls with Special Sauce
The special sauce is the element that ties every component in the bowl together. Mayonnaise, ketchup, yellow mustard, and pickle juice whisked together with smoked paprika produce something that tastes distinctly like a diner burger sauce and complements every ingredient in the bowl simultaneously. Making it first and letting it sit in the refrigerator while everything else comes together allows the flavors to develop into something more cohesive than a freshly mixed sauce delivers.
The contrast between the warm, crispy beef and the cold, crunchy lettuce base is what makes this bowl format work better than a regular plate. Each spoonful pulls up hot, caramelized beef against cold iceberg, sharp cheddar, acidic pickle, and sweet tomato in a combination that keeps every bite interesting.
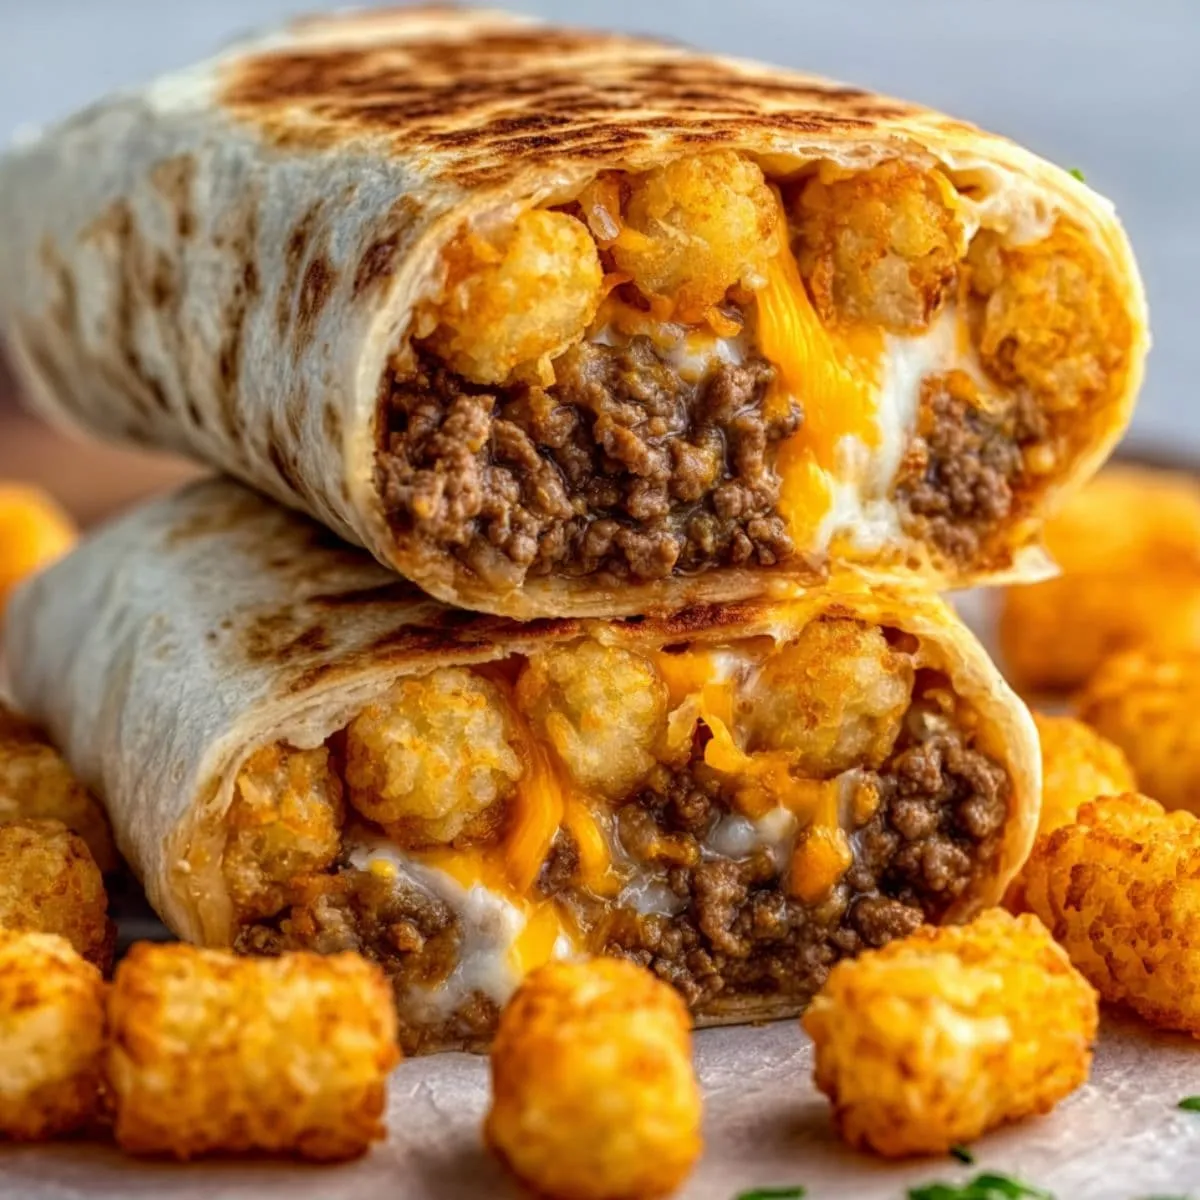
The optional fries tucked into the side of the bowl are the addition that takes this from a good dinner to a great one. Air fryer fries or tater tots alongside the burger components make this feel genuinely indulgent without any of the structural compromises of an actual burger.
Ingredients for Loaded Smash Burger Bowls with Special Sauce
I always use an 80/20 ground beef blend for smash burgers rather than leaner varieties. The fat content is what produces the lacey, crispy edges that define the smash burger technique. Leaner beef has less fat to render during the high-heat sear, which means less caramelization and edges that brown rather than crisp. If macro management is a priority, the rest of the bowl is already vegetable-forward enough to balance the richer beef.
The Smash Beef:
- 1 lb ground beef, 80/20 blend
- 1 teaspoon salt
- 1/2 teaspoon black pepper
- 1/2 teaspoon garlic powder
- 1/2 teaspoon onion powder
- 1 tablespoon Worcestershire sauce
The Bowl Base & Toppings:
- 4 cups shredded lettuce (iceberg or romaine)
- 1 cup cherry tomatoes, halved
- 1/2 red onion, thinly sliced
- 1 cup shredded cheddar cheese
- 1/2 cup dill pickles, sliced
- 1 avocado, sliced (optional)
- 2 cups frozen french fries or tater tots (optional)
The Tangy Special Sauce:
- 1/2 cup mayonnaise
- 2 tablespoons ketchup
- 1 tablespoon yellow mustard
- 1 tablespoon pickle juice or relish
- 1/2 teaspoon smoked paprika
Iceberg lettuce is the right call for the bowl base over softer greens. It holds its crunch against warm beef far better than romaine or mixed greens, which wilt quickly when heat touches them. The textural contrast between the cold, crunchy lettuce and the hot, caramelized beef is one of the defining elements of this bowl and worth protecting. For the special sauce, the pickle juice is a detail worth including rather than defaulting to relish. The liquid brine from a dill pickle jar adds a sharper, more concentrated tang than relish and doesn’t bring extra texture to a sauce that works best when smooth.
How to Make Loaded Smash Burger Bowls with Special Sauce
The key to crispy smash burger beef is a pan that’s genuinely hot before the meat goes in. If the cast-iron skillet hasn’t been preheating long enough, the ground beef will release steam as it hits the surface rather than making immediate contact with intense heat. That steam is what produces pale, soft, gray beef instead of the deeply browned, lacey-edged crust the technique is known for. Give the pan at least 3 minutes over medium-high heat before the beef goes in. It should feel hot when you hold your hand an inch above the surface.
- In a small bowl, whisk together the mayonnaise, ketchup, mustard, pickle juice, and smoked paprika until smooth. Cover and refrigerate while preparing everything else to allow the flavors to come together.
- Chop the lettuce, halve the cherry tomatoes, and slice the red onion and pickles. If using fries or tater tots, start cooking them now in the oven or air fryer according to package directions so they finish around the same time as the beef.
- Heat a large cast-iron skillet or heavy frying pan over medium-high heat with a teaspoon of oil. Allow the pan to preheat for at least 3 minutes until very hot.
- Add the ground beef to the hot pan. Using a sturdy metal spatula, press the beef down firmly and spread it across the pan surface to create maximum contact with the heat. Season the top immediately with salt, pepper, garlic powder, and onion powder.
- Cook without disturbing for 3 to 4 minutes to allow the bottom to develop a deeply browned, caramelized crust. Once the edges look lacey and dark, use the spatula to break the beef into large crumbles, flipping sections to expose the uncooked side to the pan. Cook for 2 more minutes until both sides have color.
- Stir in the Worcestershire sauce and cook for 1 final minute. The sauce caramelizes rapidly in the hot pan and adds a savory glaze to the crumbled beef.
- Divide the shredded lettuce among four bowls. Top each with a generous portion of the hot, crispy smashed beef. Add the tomatoes, red onion, pickles, shredded cheddar, and avocado if using. Tuck fries into the side of the bowl if using.
- Spoon the special sauce generously over each assembled bowl and serve immediately while the beef is still hot.
Pro tip: For the most dramatic crispy edges, resist breaking the beef apart until a proper crust has fully formed on the underside. Pressing down and walking away for 3 full minutes produces significantly better results than pressing and immediately stirring.
What to Serve with Loaded Smash Burger Bowls with Special Sauce
The bowl is a complete meal on its own, but a few additions lean into the diner burger experience and make it feel like a more occasion-worthy dinner.
Air fryer seasoned fries: The most obvious and most satisfying companion for a smash burger bowl. Crispy fries tucked into the side of the bowl or eaten alongside for dipping into the special sauce complete the diner experience at home.
Tater tots: A nostalgic alternative to fries that works particularly well with the diner-style theme of this bowl. Air fryer tater tots finish in about 15 minutes and can be cooking while the beef sears on the stovetop.
Onion rings: Crispy onion rings alongside the bowl bring another classic diner accompaniment that echoes the raw red onion already in the bowl while adding crunch in a completely different way.
Coleslaw: A vinegar-based coleslaw served on the side adds acidity and crunch that complements the rich special sauce and fatty beef in the bowl. It also keeps the meal feeling balanced with a fresh vegetable component beyond the lettuce base.
Corn on the cob: A simple side of buttered corn brings sweetness to a plate that runs savory and slightly acidic, and keeps the casual, satisfying character of the diner dinner theme intact.
Dill pickle spear: A whole dill pickle spear on the side of the bowl alongside the fries costs nothing to add and delivers exactly the kind of acidic, garlicky bite that belongs next to a smash burger in any format.

Pro Tips & Variations
Western smash burger bowl: Add crispy bacon bits over the beef layer and replace the special sauce drizzle with a combination of BBQ sauce and ranch dressing. The sweet, smoky BBQ against the tangy ranch is a variation worth building its own reputation in a household.
Ground turkey or chicken version: Both work as lower-fat alternatives to the 80/20 beef. Add an extra teaspoon of oil to the pan before the meat goes in since turkey and chicken have less natural fat to render during the sear. They produce a slightly less lacey edge but still develop good browning with a hot enough pan.
Double the special sauce: The sauce keeps well in the refrigerator for up to a week and works as a dipping sauce for fries, a spread for sandwiches, or a dressing for other salad bowls throughout the week. Making a double batch while you have all the ingredients out is worth the 30 extra seconds.
Add a fried egg: A fried egg with a runny yolk over the assembled bowl adds richness and a visual element that makes the bowl feel more like a complete breakfast-for-dinner plate. The yolk breaks into the special sauce and beef for an almost shakshuka-adjacent effect.
Pickled red onion: Swap the raw red onion for quick-pickled red onion. Thin slices of red onion soaked in red wine vinegar with a pinch of salt for 15 minutes lose their sharpness and develop a tangy, slightly sweet flavor that complements the special sauce more gently than raw onion.
Storage & Reheating Tips
Store the cooked beef and the special sauce in separate airtight containers in the refrigerator for up to 3 days. I always reheat the beef in a hot skillet rather than the microwave to bring back as much of the original crispiness as possible. A dry cast-iron pan over medium-high heat for 3 to 4 minutes, stirring occasionally, restores a significant amount of the caramelized texture. The microwave heats the beef quickly but softens the edges completely. Keep all the fresh bowl components, lettuce, tomatoes, onion, and pickles, separate and unassembled until serving. The special sauce keeps for up to a week in the refrigerator and actually improves over the first couple of days as the flavors deepen.
Common Questions
My beef didn’t get crispy edges. What went wrong? Pan temperature is almost always the cause. The skillet needs to be genuinely hot before the beef goes in, not just warm. Test by holding your hand an inch above the surface, it should feel uncomfortably hot. The second common cause is pressing and stirring too early. Let the beef sit undisturbed on the hot surface for a full 3 to 4 minutes before breaking it apart. The crust only develops with prolonged direct contact with the pan.
Can I use a regular non-stick pan instead of cast iron? A non-stick pan works but won’t produce the same intensity of crust. Non-stick surfaces are typically limited to medium rather than high heat, which reduces the caramelization. A stainless steel pan is a better alternative to cast iron if that’s what’s available. It handles higher heat than non-stick and produces a similar sear to cast iron.
Can I make the special sauce ahead of time? Yes, and it’s worth doing. The special sauce improves with time as the flavors meld together. Make it up to 3 days ahead and keep it covered in the refrigerator. Give it a quick stir before spooning over the assembled bowls since the components can separate slightly during refrigerator storage.
Loaded smash burger bowls are the kind of dinner that covers every craving a cheeseburger normally satisfies without requiring a bun or a grill. The crispy beef, the tangy sauce, the cold crunch of the lettuce base, and the optional fries on the side make this a dinner that earns a standing request. Make it on a weeknight and find out how quickly it becomes a household regular.

Loaded Smash Burger Bowls with Special Sauce
Ingredients
Equipment
Method
- Whisk together the mayonnaise, ketchup, mustard, pickle juice, and smoked paprika in a small bowl. Cover and refrigerate while preparing the rest of the ingredients.
- Chop the lettuce, halve the cherry tomatoes, and slice the red onion and pickles. If using fries or tater tots, start cooking them now according to package directions.
- Heat a large cast-iron skillet over medium-high heat with a teaspoon of oil for at least 3 minutes until very hot.
- Add the ground beef to the hot pan. Use a sturdy metal spatula to press the beef down firmly across the pan surface. Season the top immediately with salt, pepper, garlic powder, and onion powder.
- Cook undisturbed for 3 to 4 minutes until the bottom is deeply browned and lacey at the edges. Break into large crumbles and flip sections to brown the other side for 2 more minutes.
- Stir in the Worcestershire sauce and cook for 1 final minute until caramelized into the beef.
- Divide the shredded lettuce among four bowls. Top with the hot crispy beef, then add the tomatoes, red onion, pickles, shredded cheddar, and avocado if using. Tuck fries into the side if using.
- Spoon the special sauce generously over each bowl and serve immediately while the beef is still hot.