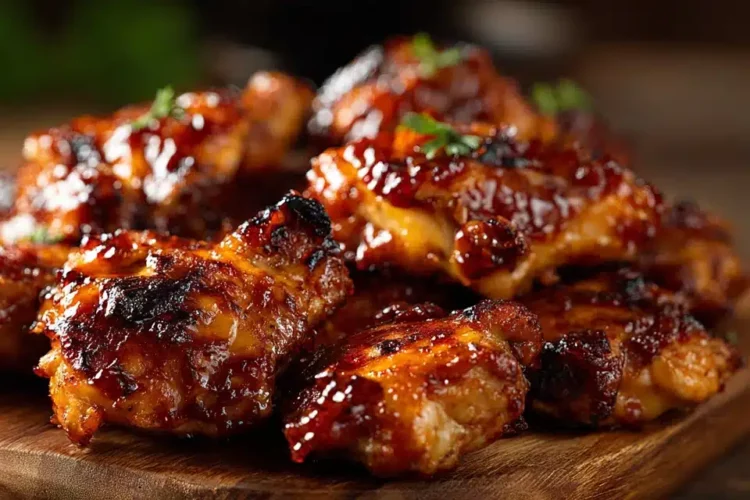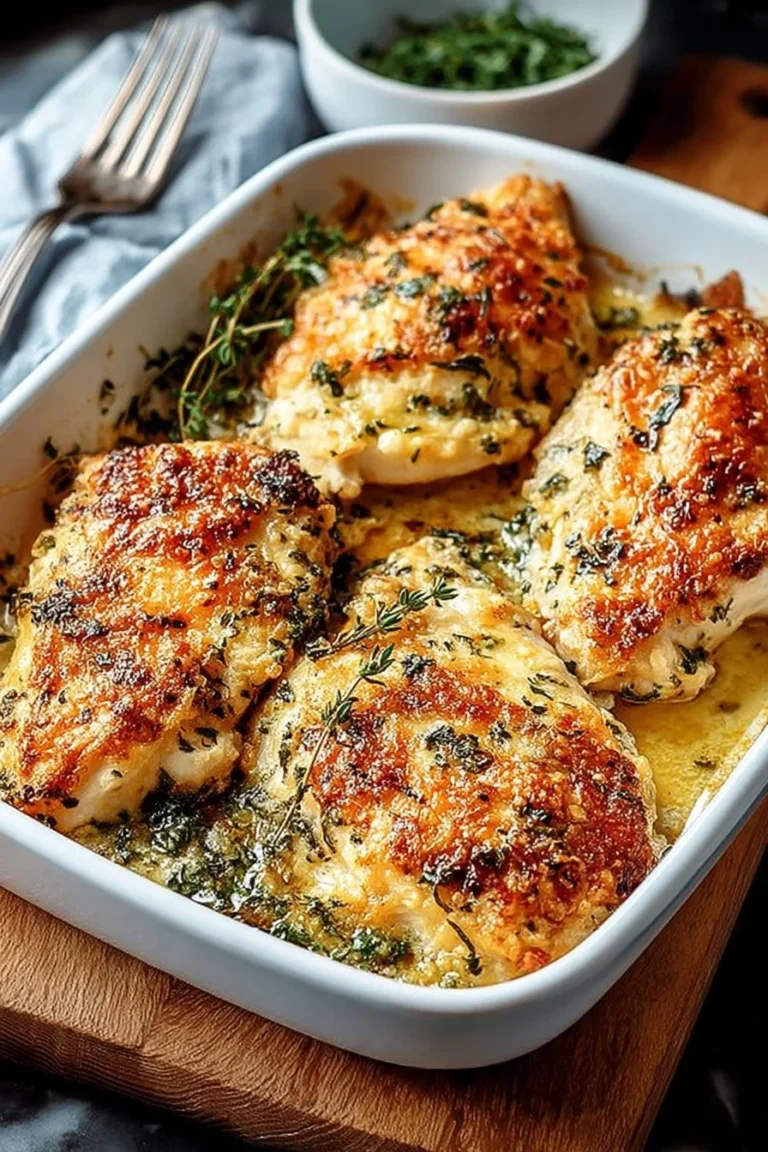
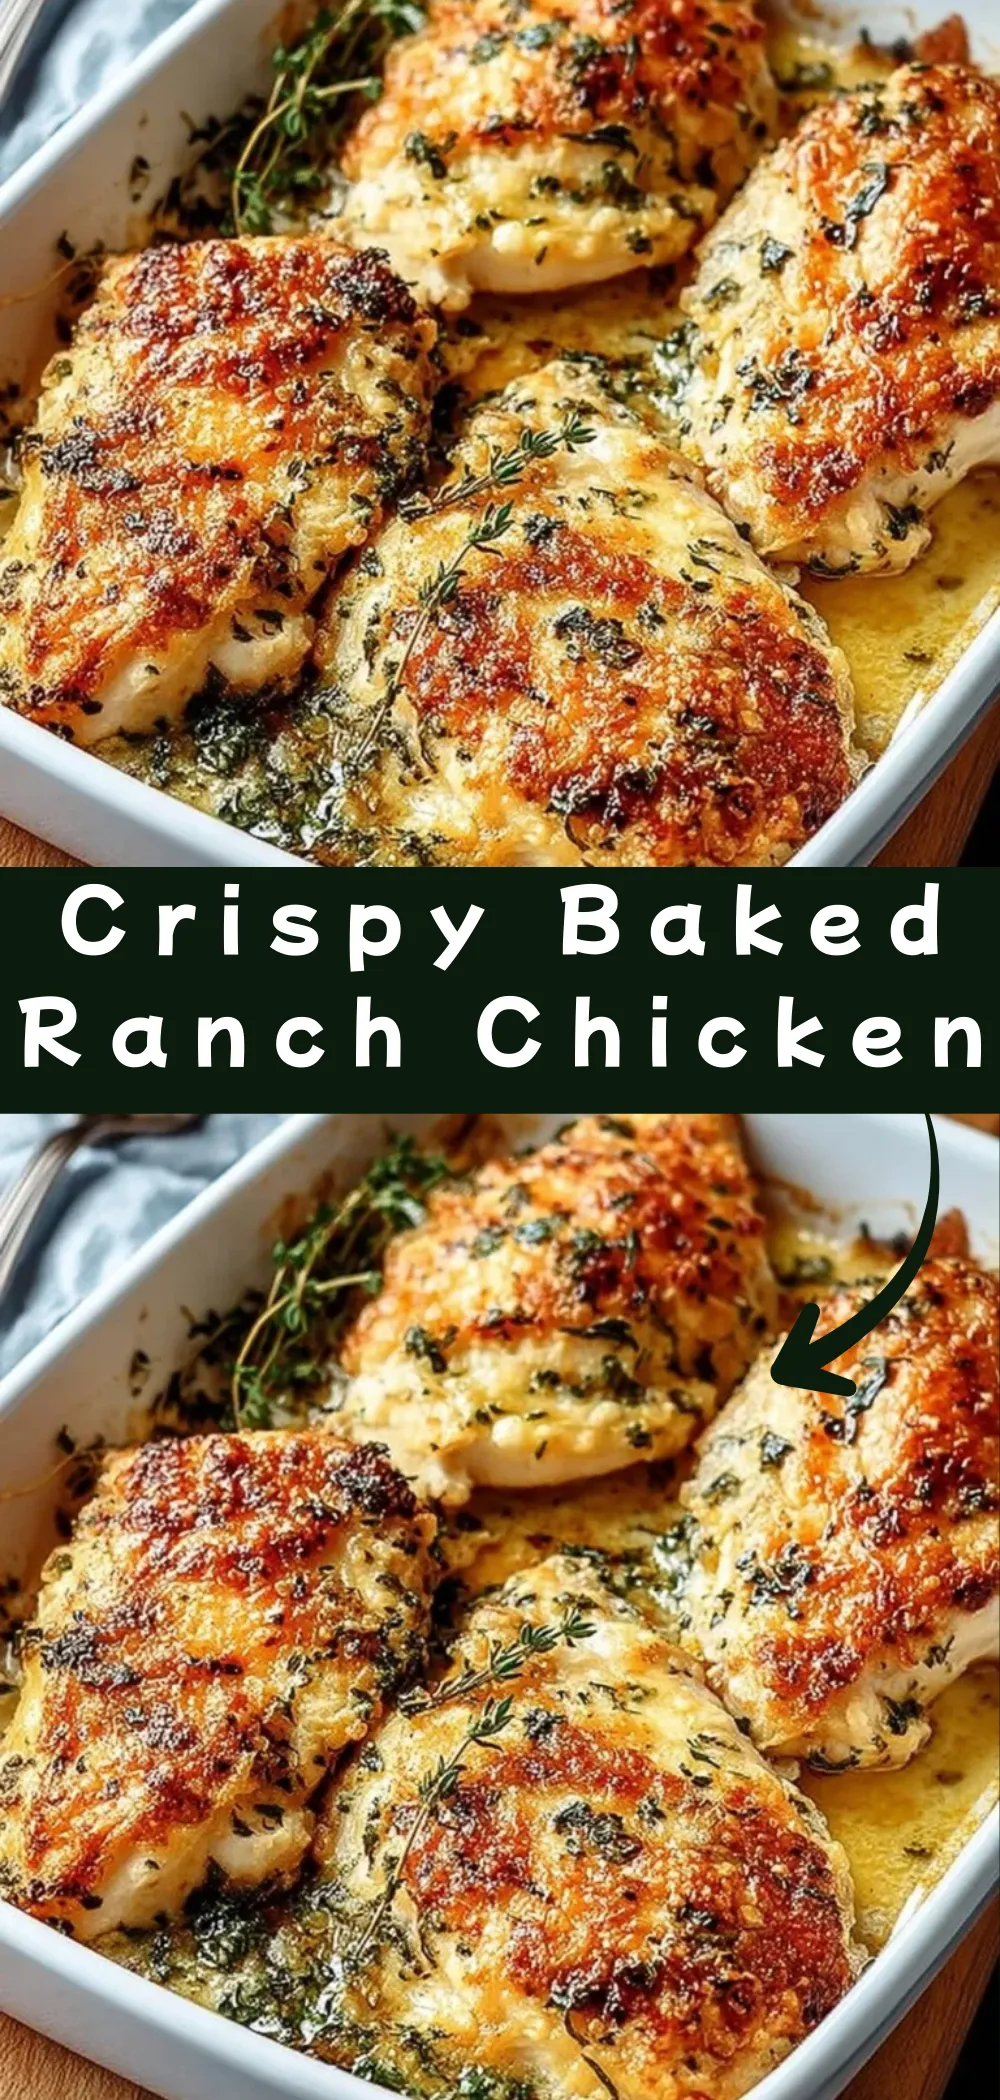
Baked ranch chicken is one of those weeknight dinners that punches well above its prep time. Four ingredients make up the coating, the oven does all the real work, and what comes out is a chicken breast with a genuinely crispy Parmesan-Panko crust and meat that stays juicy all the way through. The secret is the binder, and whether you go with mayonnaise, sour cream, or melted butter, each one protects the chicken from drying out in the high oven heat in a way that a plain egg wash simply doesn’t.
This recipe is weeknight-fast but polished enough to serve when you have people over. It works on a sheet pan, requires minimal cleanup, and comes together in 40 minutes from start to finish. If you’ve ever pulled a dry, chalky chicken breast out of the oven and wondered where you went wrong, this recipe fixes that problem permanently.
Why You’ll Love This Baked Ranch Chicken
The Panko and Parmesan crust is the first thing worth talking about. Standard breadcrumbs pack too tightly and produce a coating that’s more dense than crispy. Panko has a larger, coarser texture that creates more surface area and crisps up in the oven the way a pan-fried crust would. The Parmesan melts into the breadcrumbs as they bake, adding a salty, nutty binding element that holds the crust together without making it heavy.
The binder flexibility is genuinely useful depending on what’s already in your fridge. Mayonnaise gives the juiciest result and the most neutral flavor in the finished dish, sour cream adds a subtle tang that plays nicely against the ranch seasoning, and melted butter produces a richer, more indulgent crust with a slightly deeper golden color. All three work, and all three produce a chicken breast that stays moist through the full cook time. The optional cheddar in the last few minutes of baking adds a melty, savory layer that takes the whole thing in a slightly different direction if you want it.
Ingredients for Crispy Baked Ranch Chicken
I always pound the chicken breasts before coating them. Even a brief pound to 1/2-inch thickness makes a significant difference in how evenly the chicken cooks. Thick ends and thin ends on the same breast mean one part is overcooked by the time the other reaches 165°F. Here’s your full list:
The Protein: 4 boneless, skinless chicken breasts, pounded to an even 1/2-inch thickness
The Binder (choose one): 1/2 cup mayonnaise, best for juiciness 1/2 cup sour cream, adds a subtle tang 1/2 cup melted butter, rich and classic
The Ranch Crust: 1 packet (1 oz) dry Ranch seasoning mix 3/4 cup Panko breadcrumbs, unseasoned 1/2 cup freshly grated Parmesan cheese
The Finish: 1/4 cup shredded cheddar cheese, optional Fresh parsley, chopped, for garnish
For the Parmesan, freshly grated from a block is the way to go here. Pre-grated Parmesan from a canister has a drier, finer texture that doesn’t bind into the Panko the same way and produces a less cohesive crust. The Ranch seasoning gets split between the binder and the breading, which ensures the flavor runs through both layers rather than sitting only on the surface.
How to Make Crispy Baked Ranch Chicken
The key to getting the crust to stick through the full bake is making sure the chicken is patted completely dry before it touches the binder. Any surface moisture on the chicken dilutes the binder coating and causes the breadcrumbs to steam instead of crisp. In my experience, taking 30 seconds with a paper towel before you start makes a meaningful difference in the final texture.
- Preheat the oven to 400°F (200°C). Line a large rimmed baking sheet with parchment paper or spray a baking dish with non-stick cooking spray. A wire rack set over the baking sheet is even better if you have one, as it lets hot air circulate underneath for a crispier bottom crust.
- Pat each chicken breast completely dry with paper towels. If any are significantly thicker than 1/2 inch, place them between two sheets of plastic wrap and pound with a meat mallet or rolling pin until even.
- In a shallow bowl, whisk together your chosen binder and 1 tablespoon of the ranch seasoning until smooth and combined.
- In a second shallow bowl, combine the Panko, the remaining ranch seasoning, and the grated Parmesan. Stir to distribute everything evenly.
- Working one breast at a time, coat both sides thoroughly in the binder mixture, letting any excess drip off. Transfer directly to the breadcrumb bowl and press firmly on all sides so the Panko adheres. Don’t just roll the chicken through the crumbs; press with your palm so the coating really sticks.
- Place the breaded chicken on the prepared baking sheet. Spray the tops lightly with cooking spray. This small step makes a noticeable difference in how golden and crispy the Panko gets without adding oil to the coating itself.
- Bake for 25 to 30 minutes until the crust is deep golden brown and an instant-read thermometer inserted into the thickest part reads 165°F. Avoid opening the oven during the first 20 minutes as the temperature drop can slow the crisping process.
- If adding cheddar, scatter it over the chicken in the last 3 minutes of baking and return to the oven until melted.
- Let the chicken rest for 5 minutes before slicing. This allows the juices to redistribute so the meat stays moist when you cut into it. Garnish with fresh parsley and serve immediately.
Pro tip: If your Panko crust is golden but the internal temperature hasn’t reached 165°F yet, tent the chicken loosely with foil and continue baking. The foil prevents the crust from over-browning while the inside finishes cooking.
What to Serve with Baked Ranch Chicken
The ranch-Parmesan crust is savory and rich, so the best sides either complement that richness or bring something fresh and light to balance the plate.
Garlic Mashed Potatoes: A classic pairing that lets the chicken be the centerpiece while the potatoes provide a smooth, comforting base. Keep the seasoning simple so the ranch crust stays the main flavor on the plate.
Roasted Carrots: Toss carrots with olive oil, a pinch of honey, and salt and roast alongside the chicken at 400°F for 25 minutes. The natural sweetness of roasted carrots works well against the savory crust.
Parmesan Roasted Green Beans: A sheet pan of green beans with olive oil and Parmesan can go in the oven at the same time as the chicken, making this a true one-oven dinner with almost no extra effort.
Caesar Salad: A crisp Caesar with romaine and shaved Parmesan adds freshness and a tangy, acidic contrast that cuts through the richness of the binder and crust.
Steamed Broccoli: Simple steamed broccoli with a squeeze of lemon is a quick, no-fuss side that keeps the meal from feeling too heavy and adds color to the plate.

Pro Tips & Variations
Mayonnaise skeptics, take note: Many home cooks hesitate to bake with mayo, but because it’s an emulsion of oil and egg, it coats the surface of the chicken and shields the meat from direct dry heat during baking. The result is noticeably juicier than egg-washed chicken, and the mayo flavor completely disappears in the finished dish.
Low-carb variation: Replace the Panko with crushed pork rinds or a combination of extra Parmesan and almond flour. The texture is slightly different but the flavor profile holds up well and the crust still crisps properly in the oven.
DIY ranch seasoning: If you don’t have a ranch packet, combine 1 tablespoon dried dill, 1 teaspoon dried parsley, 1 teaspoon garlic powder, 1 teaspoon onion powder, and a pinch of salt. It approximates the packet well enough that most people won’t notice the difference.
Spicy version: Add 1/2 teaspoon of cayenne or smoked paprika to the breadcrumb mixture for a version with some heat that still keeps the ranch-Parmesan flavor front and center.
Chicken thighs: Boneless, skinless thighs work beautifully with this coating. They’re naturally more forgiving at high heat and can go a few degrees over 165°F without drying out. Adjust the bake time to 30 to 35 minutes depending on thickness.
Storage & Reheating Tips
Store leftover baked ranch chicken in an airtight container in the refrigerator for up to 4 days. I always reheat it in an air fryer at 350°F for 4 to 5 minutes rather than the microwave. The microwave softens the Panko crust completely and makes the coating chewy, while the air fryer brings the crispiness back to something close to fresh out of the oven. A conventional oven at 350°F for 10 to 12 minutes on a wire rack also works well if you don’t have an air fryer.
Leftover sliced chicken works well in wraps, over salads, or chopped into pasta with a light cream sauce. The ranch flavor holds up across all of these uses and makes the leftovers feel intentional rather than just reheated dinner.
Common Questions
Can I use chicken thighs instead of breasts? Boneless, skinless thighs are an excellent substitute and tend to be even more forgiving in the oven due to their higher fat content. Bake at the same temperature for 30 to 35 minutes depending on thickness, confirming 165°F with a thermometer.
Why isn’t my crust getting crispy? The most common reasons are moisture on the chicken before coating, skipping the cooking spray on top, or overcrowding the baking sheet. Make sure the chicken is patted very dry, spray the tops generously, and leave space between each breast so hot air can circulate.
Can I bread these ahead of time? Yes. Bread the chicken completely and place on a parchment-lined sheet, then cover loosely and refrigerate for up to 4 hours before baking. Baking from cold adds about 3 to 5 minutes to the cook time, so check the internal temperature rather than relying on timing alone.
Does the choice of binder really make a difference? It does, though all three produce good results. Mayonnaise gives the juiciest, most neutral outcome. Sour cream adds a slight tang that’s noticeable in a pleasant way. Melted butter gives a richer, more golden crust. The best choice depends on what you’re in the mood for and what’s already in your fridge.
Can I make this gluten-free? Use a certified gluten-free Panko substitute and check that your ranch seasoning packet is GF-certified, as some contain wheat-based anti-caking agents. The rest of the recipe is naturally gluten-free.
Crispy baked ranch chicken earns its place in the regular dinner rotation because it consistently delivers. The crust stays put, the meat stays juicy, and the whole thing comes together with ingredients most people already have on hand. Once you find your preferred binder, you’ll make this one on repeat.
Crispy Baked Ranch Chicken
Ingredients
Equipment
Method
- Preheat the oven to 400°F (200°C). Line a large rimmed baking sheet with parchment paper or set a wire rack over the pan and spray with non-stick cooking spray.
- Pat each chicken breast completely dry with paper towels. Pound any thick breasts to an even 1/2-inch thickness using a meat mallet or rolling pin.
- In a shallow bowl, whisk together the chosen binder (mayonnaise, sour cream, or melted butter) and 1 tablespoon of the Ranch seasoning until smooth.
- In a second shallow bowl, combine the Panko breadcrumbs, remaining Ranch seasoning, and grated Parmesan. Stir to distribute evenly.
- Coat each chicken breast thoroughly in the binder mixture, letting any excess drip off. Press the chicken firmly into the breadcrumb mixture on all sides, ensuring the crust fully adheres.
- Place the breaded chicken on the prepared baking sheet. Spray the tops lightly with cooking spray. Bake for 25 to 30 minutes until the crust is deep golden brown and an instant-read thermometer reads 165°F at the thickest part.
- If adding cheddar cheese, scatter it over the chicken in the last 3 minutes of baking and return to the oven until melted.
- Remove from the oven and let the chicken rest for 5 minutes before slicing. Garnish with fresh parsley and serve immediately.