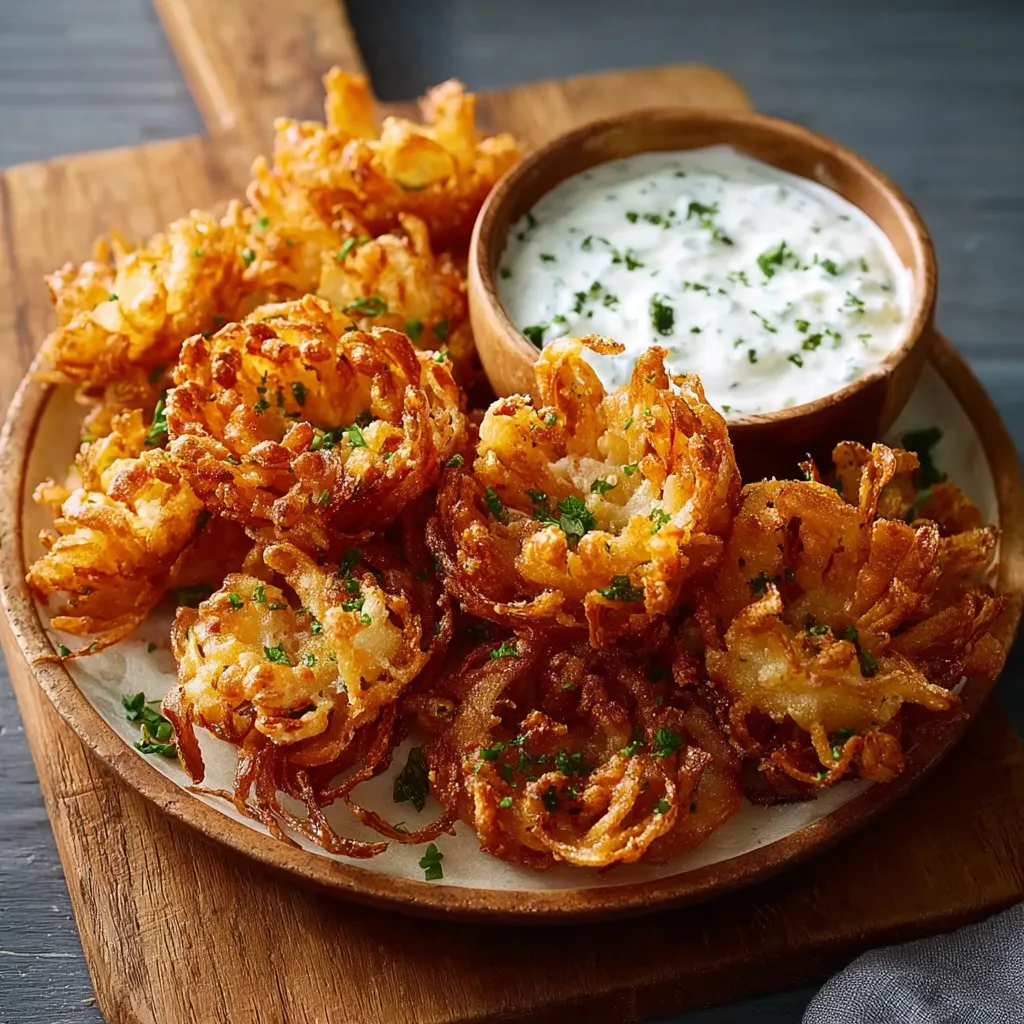
I’ll never forget the county fair, the air thick with the smell of fried everything, and the sheer spectacle of those massive, golden-brown Blooming Onions being passed around – a treat so tempting, it was worth the sticky fingers. Now, you can recreate that fairground magic right in your own kitchen, and I promise, with a little guidance, your homemade blooming onion will be just as impressive and utterly delicious!
Unlocking the Secrets to the Perfect Blooming Onion

Hey there, friend! Let’s talk blooming onions. These crispy, shareable appetizers might seem intimidating, but trust me, they’re totally doable at home. We’re going to break down each step, from choosing the right onion to mastering the frying process, so you can confidently create a blooming onion that’s worthy of applause. Forget the long lines at the fair; let’s get blooming!
What Makes a Great Blooming Onion?
Before we dive into the recipe, let’s define what we’re aiming for. A truly great blooming onion has:
- Evenly Cooked Petals: No one wants raw onion in the middle or burnt tips.
- Crispy Coating: That satisfying crunch is essential.
- Flavorful Seasoning: The coating should be bursting with flavor.
- Beautiful Presentation: It’s a blooming onion, after all! It should look impressive.
Choosing the Right Onion
The foundation of any great blooming onion is, well, the onion! Here’s what to look for:
- Size Matters: Opt for a large to jumbo-sized yellow or Vidalia onion. The bigger, the better, as it will give you more “petals” to work with.
- Firmness is Key: Choose an onion that’s firm to the touch, with no soft spots or bruises.
- Shape Considerations: Aim for an onion that’s relatively round and uniform in shape. This will make it easier to create even petals.
Blooming Onion Recipe: Step-by-Step
Alright, let’s get to the good stuff! Here’s my tried-and-true recipe for a blooming onion that will impress everyone.
Ingredients:
- 1 large or jumbo yellow or Vidalia onion
- 2 cups all-purpose flour
- 2 tablespoons cornstarch
- 2 teaspoons paprika
- 1 teaspoon garlic powder
- 1 teaspoon onion powder
- 1 teaspoon dried oregano
- 1 teaspoon cayenne pepper (optional, for a little heat)
- 1 teaspoon salt
- 1/2 teaspoon black pepper
- 1 cup buttermilk
- 1 large egg
- Vegetable oil, for frying (about 6-8 cups)
Equipment:
- Large, heavy-bottomed pot or Dutch oven
- Sharp knife
- Cutting board
- Whisk
- Shallow dishes or pie plates (for dredging)
- Tongs or a slotted spoon
- Paper towels
- Blooming onion cutter (optional, but helpful)
Instructions:
- Prep the Onion: Peel the onion, leaving the root end intact. This will hold the petals together. Place the onion root-side down on a cutting board.
- Make the Cuts: Using a sharp knife (or a blooming onion cutter), make cuts from about 1/2 inch from the root end to about 1/2 inch from the top. Make the first cut, then rotate the onion 1/4 turn and make another cut. Repeat until you have evenly spaced cuts all around the onion. Aim for 12-16 cuts. Be careful not to cut through the root end!
- Gently Separate the Petals: Carefully separate the petals of the onion, working from the outside in. This can be a little tricky, so be patient and gentle. If some petals are sticking together, gently coax them apart with your fingers.
- Prepare the Dry Coating: In a shallow dish, whisk together the flour, cornstarch, paprika, garlic powder, onion powder, oregano, cayenne pepper (if using), salt, and pepper.
- Prepare the Wet Coating: In another shallow dish, whisk together the buttermilk and egg.
- Coat the Onion: Dredge the blooming onion in the flour mixture, making sure to coat all the petals thoroughly, inside and out. Shake off any excess flour.
- Dip in Wet Mixture: Dip the floured onion into the buttermilk mixture, again making sure to coat all the petals. Let any excess drip off.
- Double Dredge (for extra crispiness): Dredge the onion in the flour mixture a second time, pressing the flour into the petals to ensure a thick, even coating.
- Fry the Onion: Heat the vegetable oil in a large, heavy-bottomed pot or Dutch oven to 350°F (175°C). Carefully lower the blooming onion into the hot oil, root-side up.
- Fry until Golden Brown: Fry for about 5-7 minutes, or until the onion is golden brown and crispy. Use tongs or a slotted spoon to carefully turn the onion over and fry for another 3-5 minutes, or until it’s evenly cooked.
- Drain and Serve: Remove the blooming onion from the oil and place it on a plate lined with paper towels to drain off any excess oil. Serve immediately with your favorite dipping sauce.
Dipping Sauce Ideas:
A blooming onion is only as good as its dipping sauce! Here are a few of my favorites:
- Spicy Ranch: Combine ranch dressing with a dash of hot sauce or cayenne pepper.
- Blooming Onion Sauce (Copycat Outback): Mix mayonnaise, horseradish, paprika, garlic powder, onion powder, and a pinch of cayenne pepper.
- Sweet Chili Sauce: A store-bought option that’s always a crowd-pleaser.
- Honey Mustard: A classic combination that never disappoints.
Tips and Tricks for Blooming Onion Success
Want to take your blooming onion game to the next level? Here are a few extra tips and tricks I’ve learned over the years:
- Chill the Onion: Place the cut onion in the freezer for about 30 minutes before dredging. This will help the petals stay separated and prevent them from burning during frying.
- Use a Thermometer: Maintaining the correct oil temperature is crucial for even cooking. Use a deep-fry thermometer to monitor the oil temperature and adjust the heat as needed.
- Don’t Overcrowd the Pot: Fry one blooming onion at a time to prevent the oil temperature from dropping too low.
- Adjust Seasoning to Taste: Feel free to adjust the seasoning in the flour mixture to your liking. If you like things spicy, add more cayenne pepper. If you prefer a sweeter flavor, add a pinch of sugar.
- Keep it Warm: If you’re not serving the blooming onion immediately, keep it warm in a preheated oven (200°F or 95°C) until ready to serve.
Troubleshooting Common Blooming Onion Problems
Sometimes, things don’t go exactly as planned. Here are a few common blooming onion problems and how to fix them:
- Onion is Burning: The oil temperature is too high. Reduce the heat and monitor the temperature closely.
- Onion is Soggy: The oil temperature is too low. Increase the heat and make sure the oil is hot enough before adding the onion. Also, make sure you’re not overcrowding the pot.
- Petals are Falling Apart: You may have cut too close to the root end. Next time, leave a little more of the root end intact. Also, be gentle when separating the petals.
- Coating is Not Sticking: Make sure the onion is completely dry before dredging it in the flour mixture. Also, press the flour into the petals to ensure a good coating. The double dredge is really key here.
Serving Suggestions and Variations
Blooming onions are fantastic on their own as an appetizer, but they can also be incorporated into other dishes! Here are a few ideas:
- Blooming Onion Burger: Top a juicy burger with a few petals of blooming onion for extra flavor and crunch.
- Blooming Onion Salad: Add chopped blooming onion to a salad for a unique twist.
- Blooming Onion Nachos: Use blooming onion petals as a base for nachos, topped with your favorite toppings.
You can also experiment with different variations of the blooming onion recipe. Try using different types of onions, such as red onions or shallots. You can also add different spices to the flour mixture, such as chili powder, cumin, or smoked paprika.
Safety First!
Frying can be dangerous if you’re not careful. Here are a few safety tips to keep in mind:
- Never leave hot oil unattended.
- Use a deep-fry thermometer to monitor the oil temperature.
- Add the onion to the oil slowly and carefully to avoid splattering.
- Keep a fire extinguisher nearby in case of emergency.
- Never pour used cooking oil down the drain. Let it cool completely, then dispose of it properly.
Beyond Blooming Onions: More Delicious Recipes
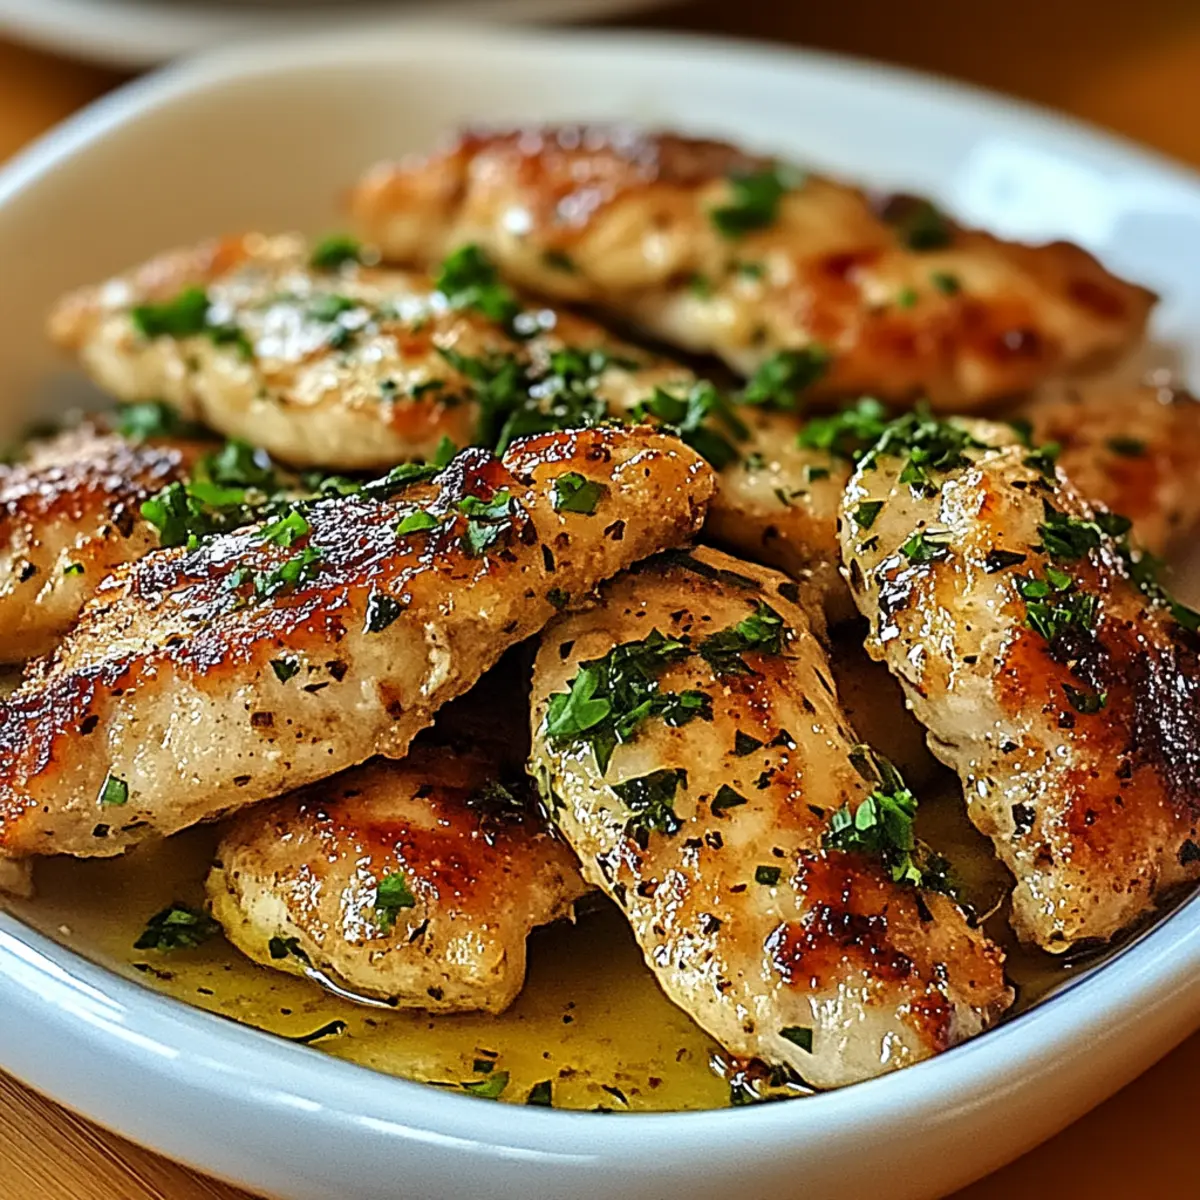
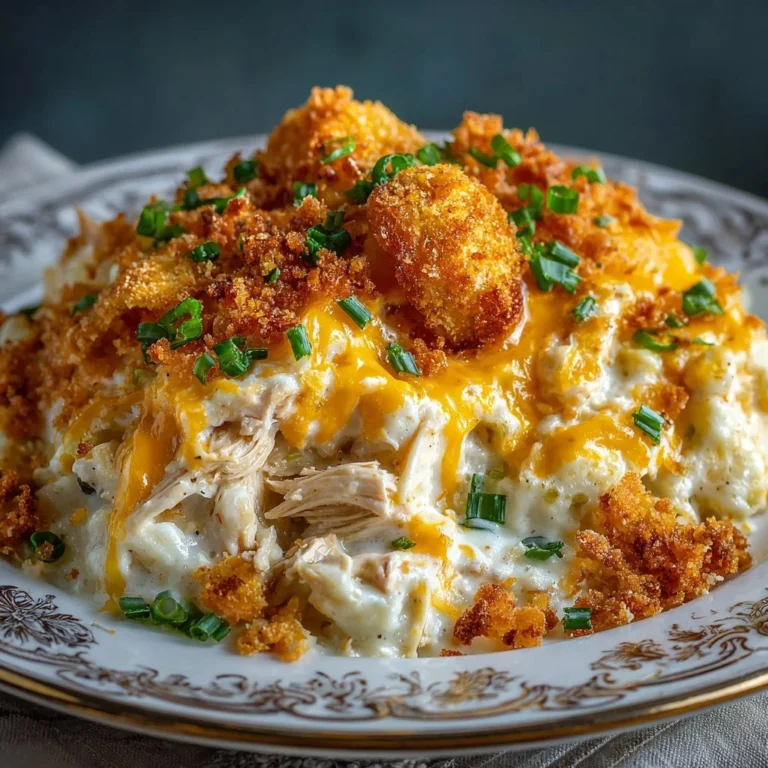
Once you’ve mastered the blooming onion, why not expand your culinary horizons? For a fantastic main course, try these Grilled Ranch Garlic Parmesan Chicken Skewers – they’re bursting with flavor and perfect for a barbecue. Or, if you’re looking for something comforting and family-friendly, the Chicken Bacon Ranch Tater Tot Casserole is always a winner. Don’t forget some amazing sides! The Ranchy Sausage Potato is a simple, yet satisfying dish. And for another crispy, flavorful appetizer, check out these Crispy Cajun Shrimp With Special Dipping Sauce.
Final Thoughts
Making a blooming onion at home might seem a little daunting at first, but with a little practice and patience, you’ll be creating show-stopping appetizers in no time. Remember to choose the right onion, follow the steps carefully, and don’t be afraid to experiment with different flavors and dipping sauces. Enjoy the process, and most importantly, enjoy the delicious results!
What kind of onion is best for making a blooming onion?
A large to jumbo-sized yellow or Vidalia onion that’s firm to the touch is best. Look for one that is relatively round and uniform in shape.
What is the ideal oil temperature for frying a blooming onion?
The ideal oil temperature for frying a blooming onion is 350°F (175°C).
What can I do to keep the blooming onion petals from burning while frying?
Chill the cut onion in the freezer for about 30 minutes before dredging. This helps the petals stay separated and prevents them from burning. Also, maintain the correct oil temperature.
Why is double dredging important for a Blooming Onion?
Double dredging helps ensure a thick, even coating, which contributes to the crispiness of the final product and helps the coating stick to the onion.
Best Blooming Onion Recipe
Ingredients
Equipment
Method
- Peel the onion, leaving the root end intact.
- Place the onion root-side down on a cutting board.
- Make cuts from about 1/2 inch from the root end to about 1/2 inch from the top, rotating the onion 1/4 turn after each cut until you have 12-16 evenly spaced cuts. Be careful not to cut through the root end!
- Carefully separate the petals of the onion, working from the outside in.
- In a shallow dish, whisk together the flour, cornstarch, paprika, garlic powder, onion powder, oregano, cayenne pepper (if using), salt, and pepper.
- In another shallow dish, whisk together the buttermilk and egg.
- Dredge the blooming onion in the flour mixture, making sure to coat all the petals thoroughly, inside and out. Shake off any excess flour.
- Dip the floured onion into the buttermilk mixture, again making sure to coat all the petals. Let any excess drip off.
- Dredge the onion in the flour mixture a second time, pressing the flour into the petals to ensure a thick, even coating.
- Heat the vegetable oil in a large, heavy-bottomed pot or Dutch oven to 350°F (175°C).
- Carefully lower the blooming onion into the hot oil, root-side up.
- Fry for about 5-7 minutes, or until the onion is golden brown and crispy. Use tongs or a slotted spoon to carefully turn the onion over and fry for another 3-5 minutes, or until it’s evenly cooked.
- Remove the blooming onion from the oil and place it on a plate lined with paper towels to drain off any excess oil.
- Serve immediately with your favorite dipping sauce.