There’s a certain magic to bite-sized food, isn’t there? I remember one year, my attempt at a “sophisticated” New Year’s Eve party completely flopped until I brought out a tray of Mini Baked Chicken Tacos – suddenly, everyone was gathered around the appetizers, laughing and having a blast. These little guys are always a guaranteed crowd-pleaser, and I promise you’ll be amazed at how easy it is to create a fiesta in your own kitchen tonight!
Let’s Make Some Mini Baked Chicken Tacos!

Okay, friend, let’s dive into making these irresistible Mini Baked Chicken Tacos. I’m going to walk you through every step, from prepping the chicken to those final, golden-brown moments in the oven. Trust me, even if you’re a beginner cook, you’ve got this! We will cover ingredients, directions, tips and tricks to help you along the way.
Why These Mini Tacos Are a Must-Try
Before we get cooking, let’s talk about why these tacos are so special:
- Perfect for Parties: Seriously, they disappear fast! Great for game day, birthday parties, or just a fun family dinner.
- Customizable: You can easily adapt the fillings to suit your taste.
- Budget-Friendly: Chicken and tortillas are relatively inexpensive.
- Easy to Make Ahead: Prep the filling in advance, then assemble and bake when you’re ready.
- Kid-Friendly: My kids absolutely devour these. They love helping assemble them too!
Ingredients You’ll Need
Here’s a breakdown of everything you’ll need. Don’t worry if you don’t have *exactly* what’s listed; I’ll give you some substitution ideas along the way.
For the Chicken Filling:
- 1.5 lbs Boneless, Skinless Chicken Breasts: We’ll be shredding this, so don’t worry about perfect cuts.
- 1 packet Taco Seasoning: Use your favorite brand, or make your own!
- 1/2 cup Chicken Broth: This helps keep the chicken moist and flavorful.
- 1 tbsp Olive Oil: For sautéing.
- 1/2 cup Diced Onion: Adds a great savory flavor.
- 1 clove Garlic, minced: Because everything is better with garlic!
- 1/2 cup Salsa: Choose your spice level!
- Optional: 1/4 cup Chopped Cilantro, 1 can (4 oz) Diced Green Chilies
For the Tacos:
- 24-36 Mini Corn Tortillas: Look for the small street taco size.
- 2 cups Shredded Cheese: Cheddar, Monterey Jack, or a Mexican blend work great.
- Optional Toppings: Sour cream, guacamole, pico de gallo, shredded lettuce, hot sauce
Step-by-Step Instructions
Alright, let’s get cooking! Follow these steps, and you’ll be enjoying delicious Mini Baked Chicken Tacos in no time.
Step 1: Cook the Chicken
- Heat the olive oil in a large skillet over medium heat. Add the diced onion and cook until softened, about 5 minutes. Add the minced garlic and cook for another minute until fragrant.
- Add the chicken breasts to the skillet and cook until browned on both sides.
- Sprinkle the taco seasoning over the chicken, then pour in the chicken broth and salsa. Bring to a simmer.
- Cover the skillet and reduce heat to low. Cook for 20-25 minutes, or until the chicken is cooked through and easily shreds with a fork.
- Remove the chicken from the skillet and shred it with two forks. Return the shredded chicken to the skillet and stir to coat with the sauce. If using, stir in the chopped cilantro and diced green chilies.
Step 2: Assemble the Tacos
- Preheat your oven to 375°F (190°C).
- Lightly grease a baking sheet.
- Warm the tortillas slightly to make them more pliable. You can do this by wrapping them in a damp paper towel and microwaving them for 20-30 seconds.
- Spoon a small amount of the chicken mixture into the center of each tortilla.
- Sprinkle a generous amount of shredded cheese over the chicken.
- Fold the tortilla in half to form a taco. Place the taco seam-side down on the prepared baking sheet.
Step 3: Bake the Tacos
- Bake for 12-15 minutes, or until the tortillas are golden brown and the cheese is melted and bubbly.
Step 4: Serve and Enjoy!
- Remove the tacos from the oven and let them cool slightly before serving.
- Serve with your favorite toppings, such as sour cream, guacamole, pico de gallo, and hot sauce.
Tips and Tricks for Perfect Tacos
Here are a few extra tips to help you nail these Mini Baked Chicken Tacos every time:
- Don’t Overfill: Too much filling will make the tacos difficult to fold and they may burst open while baking.
- Warm the Tortillas: This is crucial! Cold tortillas will crack when you try to fold them.
- Use a Good Quality Cheese: The better the cheese, the better the flavor.
- Bake on a Wire Rack (Optional): For extra crispy tacos, bake them on a wire rack placed on top of the baking sheet.
- Make it Vegetarian: Substitute the chicken with black beans or seasoned lentils.
- Spice it Up: Add a pinch of cayenne pepper or some diced jalapeños to the chicken filling for extra heat.
- Prevent Soggy Bottoms: If you’re worried about the taco bottoms getting soggy, sprinkle a little bit of cheese on the baking sheet before placing the tacos. This will create a crispy cheese barrier.
Variations and Substitutions
Want to mix things up? Here are a few ideas:
- Spicy Chicken Tacos: Add a can of diced tomatoes and green chilies (like Rotel) to the chicken mixture.
- BBQ Chicken Tacos: Use BBQ sauce instead of salsa and add some diced red onion.
- Buffalo Chicken Tacos: Use buffalo wing sauce instead of salsa and add some crumbled blue cheese.
- Ground Beef Tacos: Substitute the chicken with ground beef and brown it before adding the taco seasoning.
- Sweet Potato and Black Bean Tacos: A great vegetarian option! Roast diced sweet potatoes and combine them with black beans, corn, and your favorite taco seasoning.
Make-Ahead Instructions
These Mini Baked Chicken Tacos are perfect for making ahead of time. You can prepare the chicken filling up to 2 days in advance and store it in the refrigerator. When you’re ready to bake the tacos, simply assemble them and bake as directed. You can also assemble the tacos completely and store them in the refrigerator for up to 24 hours before baking. Just add a few extra minutes to the baking time to ensure they’re heated through.
Serving Suggestions
These tacos are great on their own, but here are a few ideas to round out your meal:
- Mexican Rice: A classic side dish that pairs perfectly with tacos.
- Refried Beans: Another classic!
- Guacamole and Chips: Always a crowd-pleaser.
- Mexican Street Corn Salad: Adds a fresh and vibrant element.
- Simple Salad: A light and refreshing counterpoint to the rich tacos.
Storing Leftovers
Store leftover Mini Baked Chicken Tacos in an airtight container in the refrigerator for up to 3 days. Reheat them in the oven or microwave until heated through. They may not be as crispy as when they were first baked, but they’ll still be delicious!
More Delicious Recipes To Try
If you’re looking for more easy and flavorful chicken recipes, check out these:
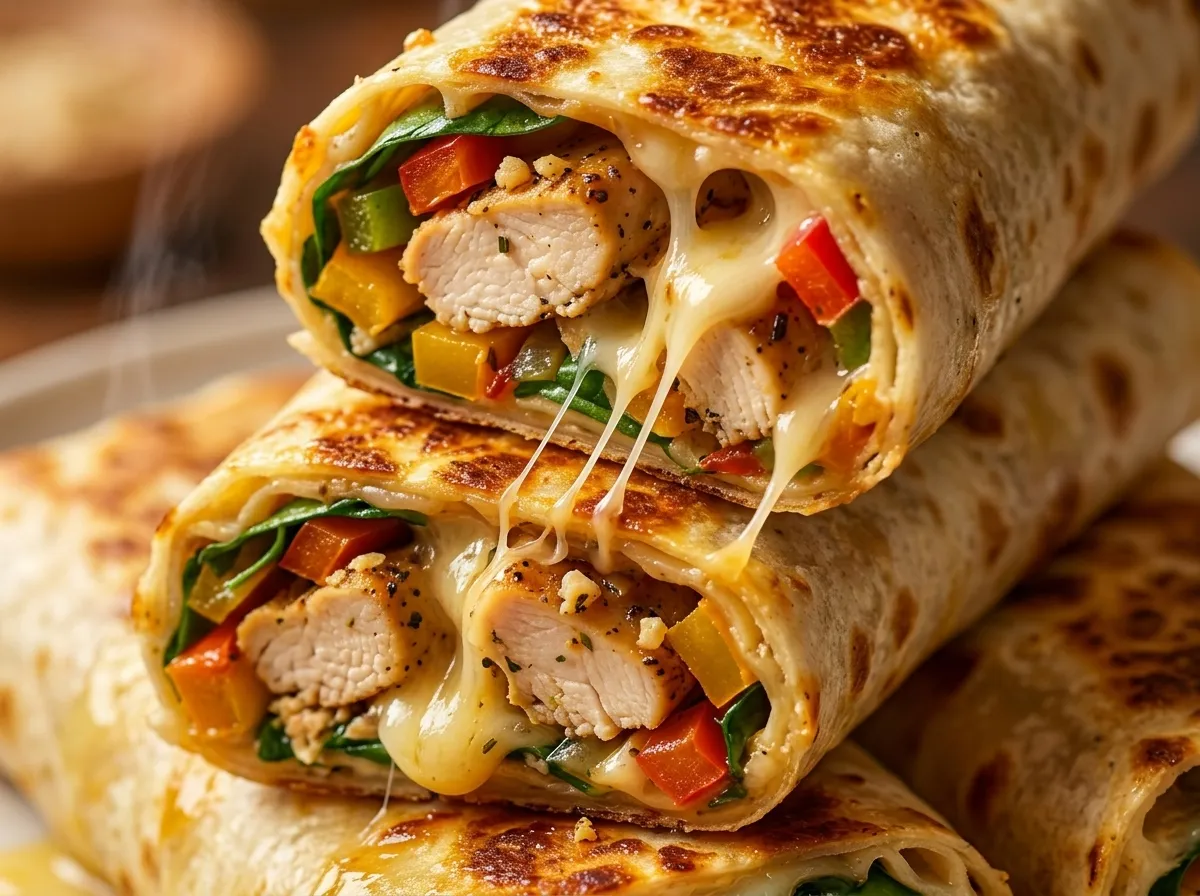
- For a fun and easy weeknight meal, try the Cheesy Garlic Chicken Wraps. They’re packed with flavor and ready in minutes!
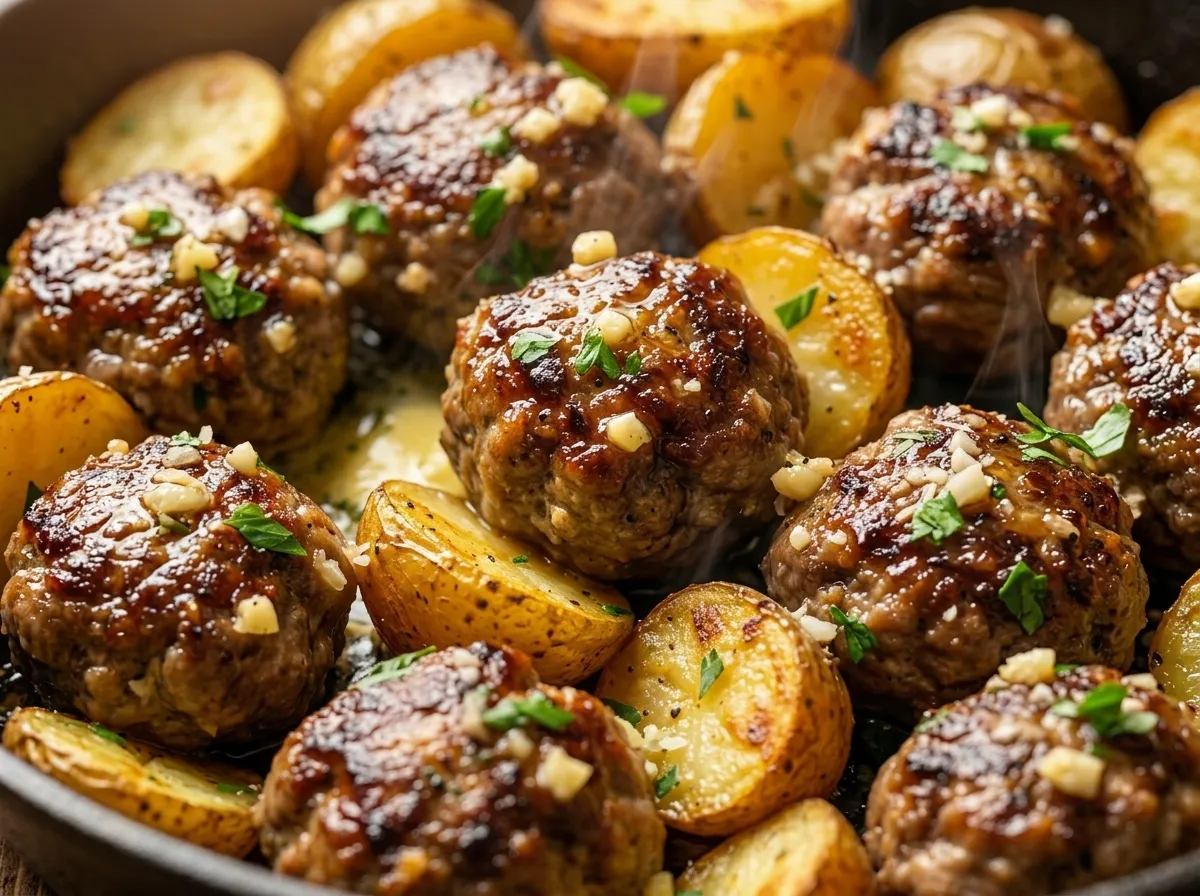
- If you are grilling, you can try the Ranch Garlic Parmesan Chicken Skewers.
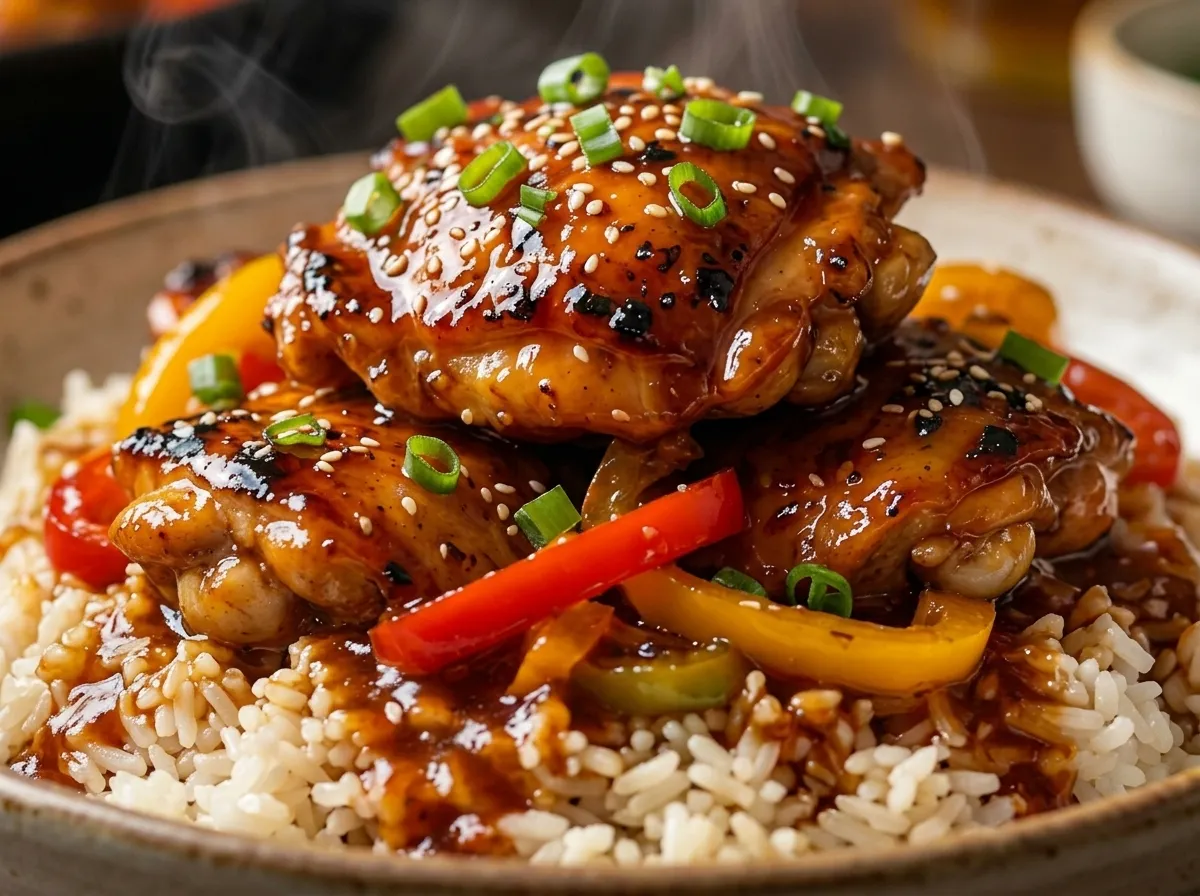
- Craving something fresh and vibrant? The Street Corn Chicken Bowl is a must-try!
- If you love a good bowl, you can’t go wrong with the Taco Rice Bowl. So easy to customize!
- Need a comforting and easy dish? Give the Stick Of Butter Chicken Rice a try. It’s surprisingly delicious!
- For a quick and easy appetizer or snack, the Chicken Stuffed Crescent Rolls are always a hit.
Commonly Asked Questions
Let’s tackle a few common questions you might have about making these tacos:
- Can I use flour tortillas? Yes, you can! They’ll be softer and chewier than corn tortillas.
- Can I freeze these tacos? Yes, you can freeze the assembled tacos before baking. Thaw them in the refrigerator overnight and then bake as directed.
- My tacos are soggy, what did I do wrong? Make sure you’re not overfilling the tortillas and that you’re baking them at a high enough temperature. Also, avoid using overly watery ingredients in the filling.
- Can I use rotisserie chicken? Absolutely! It’s a great shortcut. Just shred it and add it to the taco seasoning and salsa mixture.
- What kind of cheese should I use? Cheddar, Monterey Jack, or a Mexican blend are all great choices.
Enjoy Your Mini Baked Chicken Tacos!
There you have it! Everything you need to create the perfect Mini Baked Chicken Tacos. Remember to have fun with it, experiment with different fillings, and don’t be afraid to add your own personal touch. Happy cooking, and enjoy your fiesta!
Can I prepare the chicken filling for the mini tacos in advance?
Yes, you can prepare the chicken filling up to 2 days in advance and store it in the refrigerator. When ready, assemble the tacos and bake as directed.
What are some vegetarian substitutions for the chicken in these mini tacos?
You can substitute the chicken with black beans or seasoned lentils for a vegetarian option. Sweet potato and black bean tacos are another good option.
How do I prevent the mini tacos from getting soggy?
Make sure you’re not overfilling the tortillas and that you’re baking them at a high enough temperature. Also, avoid using overly watery ingredients in the filling. Sprinkling cheese on the baking sheet before placing the tacos can create a barrier.
What are some variations I can make to the chicken filling?
You can make spicy chicken tacos by adding diced tomatoes and green chilies. For BBQ chicken tacos, use BBQ sauce instead of salsa and add diced red onion. Buffalo chicken tacos use buffalo wing sauce instead of salsa and blue cheese.
BEST Mini Baked Chicken Tacos
Ingredients
Equipment
Method
- Heat the olive oil in a large skillet over medium heat. Add the diced onion and cook until softened, about 5 minutes. Add the minced garlic and cook for another minute until fragrant.
- Add the chicken breasts to the skillet and cook until browned on both sides.
- Sprinkle the taco seasoning over the chicken, then pour in the chicken broth and salsa. Bring to a simmer.
- Cover the skillet and reduce heat to low. Cook for 20-25 minutes, or until the chicken is cooked through and easily shreds with a fork.
- Remove the chicken from the skillet and shred it with two forks. Return the shredded chicken to the skillet and stir to coat with the sauce. If using, stir in the chopped cilantro and diced green chilies.
- Preheat your oven to 375°F (190°C).
- Lightly grease a baking sheet.
- Warm the tortillas slightly to make them more pliable. You can do this by wrapping them in a damp paper towel and microwaving them for 20-30 seconds.
- Spoon a small amount of the chicken mixture into the center of each tortilla.
- Sprinkle a generous amount of shredded cheese over the chicken.
- Fold the tortilla in half to form a taco. Place the taco seam-side down on the prepared baking sheet.
- Bake for 12-15 minutes, or until the tortillas are golden brown and the cheese is melted and bubbly.
- Remove the tacos from the oven and let them cool slightly before serving.
- Serve with your favorite toppings, such as sour cream, guacamole, pico de gallo, and hot sauce.