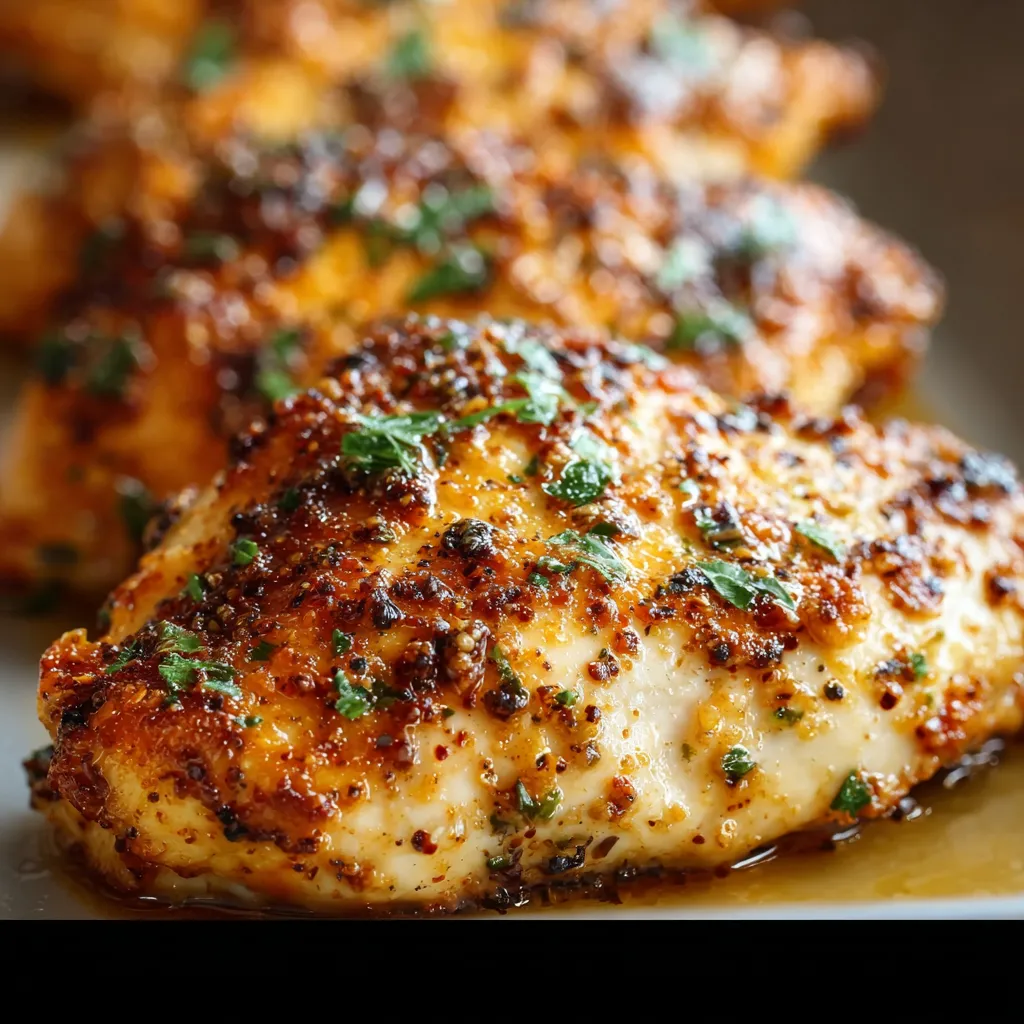
I still remember the absolute panic that set in the first time I tried to cook chicken breasts for a dinner party. They turned out so dry and tough; I was mortified! I vowed then and there to master the art of cooking juicy, flavorful chicken. After countless experiments (and a few more dinner party mishaps, I confess!), I’ve finally cracked the code, and I’m so excited to share my secret for the easiest and most delicious Melt In Your Mouth Chicken Breast Recipe So Easy! you could ever dream of making. Today, I’m sharing all my secrets for the most amazing Melt In Your Mouth Chicken Breast Recipe So Easy! you’ll ever make!
The Secret to Perfectly Juicy Chicken Breasts

Okay, friend, let’s talk chicken. Chicken breast gets a bad rap for being dry and boring, but trust me, it doesn’t have to be that way! The key to achieving that melt-in-your-mouth texture is all about technique and a little bit of love (yes, you need to love your chicken!). We’re going to walk through every step together, so you can confidently create chicken breasts that are juicy, flavorful, and absolutely irresistible. Get ready for compliments, because you’re about to become a chicken breast champion!
Why This Recipe Works
There are tons of chicken breast recipes out there, so why should you try this one? Well, first of all, it’s incredibly simple. We’re not talking about complicated techniques or hard-to-find ingredients. This recipe uses everyday items you probably already have in your pantry. More importantly, it’s incredibly reliable. I’ve made this recipe dozens of times, and it comes out perfectly every. single. time. The combination of a simple brine, a gentle cooking method, and a flavorful seasoning blend ensures that your chicken is juicy, tender, and bursting with flavor. And let’s be honest, who doesn’t want that?
Ingredients You’ll Need
Let’s gather our supplies! Don’t worry; the list is short and sweet. And I’ll tell you right now, feel free to adapt this to your own preferences. Don’t be afraid to get creative!
- Boneless, Skinless Chicken Breasts: About 1.5-2 pounds, and about the same thickness is ideal.
- Salt: We’ll use this for the brine and the seasoning.
- Sugar: A touch of sugar in the brine helps with browning and adds a subtle sweetness.
- Water: For the brine, of course!
- Olive Oil: To keep the chicken moist and help the seasonings adhere.
- Paprika: For color and a hint of smoky flavor.
- Garlic Powder: Because everything is better with garlic!
- Onion Powder: Adds depth of flavor.
- Dried Thyme: For an earthy, aromatic touch.
- Dried Rosemary: A classic herb that pairs perfectly with chicken.
- Black Pepper: Freshly ground is always best!
A note on chicken breasts: Try to choose chicken breasts that are relatively the same thickness. This will ensure they cook evenly. If your chicken breasts are very thick, you can pound them to an even thickness using a meat mallet. Just place the chicken between two sheets of plastic wrap and gently pound until it’s about ½ inch thick. This also helps tenderize the chicken!
Step-by-Step Instructions
Okay, here’s where the magic happens! I’m going to walk you through each step, so you can feel completely confident in your chicken-cooking abilities.
Step 1: Brining the Chicken (Don’t Skip This!)
This is the most important step for achieving that melt-in-your-mouth texture. Brining the chicken helps it retain moisture during cooking, resulting in incredibly juicy and tender chicken breasts. Trust me; it’s worth the extra effort!
- In a large bowl, combine 4 cups of cold water, ¼ cup of salt, and ¼ cup of sugar. Stir until the salt and sugar are completely dissolved.
- Add the chicken breasts to the brine, making sure they are fully submerged. You can place a plate on top of the chicken to keep them submerged if needed.
- Cover the bowl and refrigerate for at least 30 minutes, or up to 2 hours. Don’t brine for longer than 2 hours, or the chicken can become too salty.
Why brine? Brining is like giving your chicken a spa day! It allows the chicken to absorb water and salt, which helps to denature the proteins. Denaturing of the proteins makes them less likely to tighten and squeeze out moisture when cooked, resulting in juicier, more tender meat. Science is delicious!
Step 2: Seasoning the Chicken
While the chicken is brining, let’s prepare the seasoning blend. This is where you can really customize the flavors to your liking. Feel free to add or substitute any of your favorite herbs and spices.
- In a small bowl, combine 2 tablespoons of olive oil, 1 teaspoon of paprika, 1 teaspoon of garlic powder, 1 teaspoon of onion powder, ½ teaspoon of dried thyme, ½ teaspoon of dried rosemary, ½ teaspoon of salt, and ¼ teaspoon of black pepper.
- Whisk the ingredients together until well combined.
A tip for maximum flavor: Feel free to experiment with other spices like smoked paprika, chili powder, or even a pinch of cayenne pepper for a little heat! If you’re looking for something different consider this HONEY PEPPER CHICKEN PASTA.
Step 3: Cooking the Chicken
Now for the cooking part! This is where we’ll use a simple, gentle method to ensure the chicken stays moist and tender. We’re going to use a combination of stovetop searing and oven baking.
- Preheat your oven to 375°F (190°C).
- Remove the chicken breasts from the brine and pat them completely dry with paper towels. This is important for getting a good sear.
- Brush the seasoning mixture evenly over both sides of the chicken breasts.
- Heat a large oven-safe skillet over medium-high heat. Cast iron is ideal, but any skillet that can go in the oven will work.
- Add the chicken breasts to the hot skillet and sear for 2-3 minutes per side, until golden brown.
- Transfer the skillet to the preheated oven and bake for 15-20 minutes, or until the chicken is cooked through and reaches an internal temperature of 165°F (74°C). Use a meat thermometer to check for doneness.
- Remove the skillet from the oven and let the chicken breasts rest for 5-10 minutes before slicing and serving. This allows the juices to redistribute, resulting in even juicier chicken.
Why sear first? Searing the chicken before baking creates a beautiful golden-brown crust that adds flavor and texture. The Maillard reaction, which occurs when proteins and sugars are heated, is responsible for that delicious browning and flavor development. It also helps to seal in the juices, keeping the chicken moist during baking.
Why rest the chicken? Resting the chicken is crucial for preventing it from drying out. When chicken is cooked, the juices tend to migrate towards the center. Resting allows the juices to redistribute throughout the chicken, resulting in a more evenly moist and flavorful piece of meat. Think of it as a little spa treatment for your chicken!
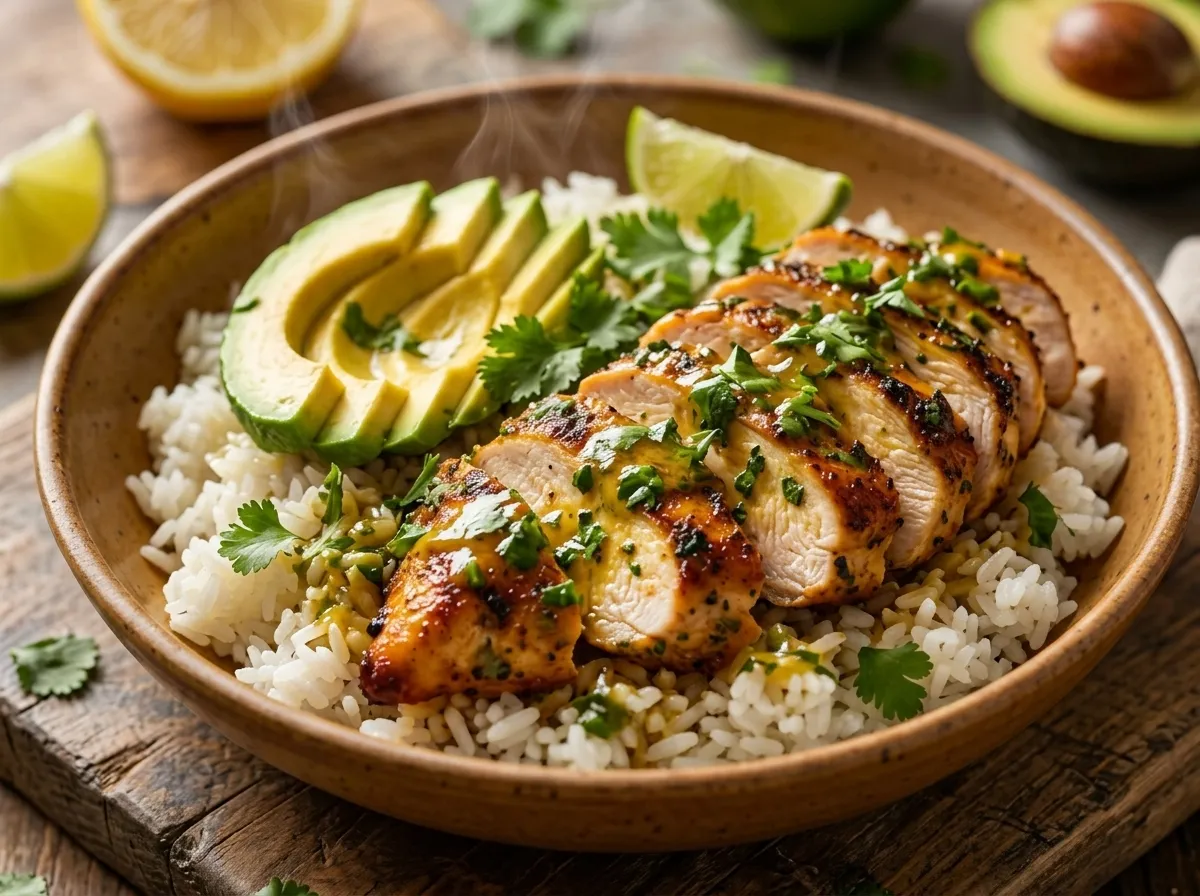
Serving Suggestions
Now that you have perfectly cooked, melt-in-your-mouth chicken breasts, it’s time to get creative with serving them! Here are a few of my favorite ways to enjoy this recipe:
- Salads: Slice the chicken and add it to your favorite salad for a protein-packed meal.
- Sandwiches: Use the chicken for sandwiches, wraps, or paninis.
- Pasta: Add the chicken to pasta dishes, like a creamy Alfredo or a simple tomato sauce. It would be amazing in a dish inspired by BUTTER CHICKEN.
- Grain Bowls: Create a healthy and delicious grain bowl with the chicken, your favorite grains (like quinoa or rice), and roasted vegetables.
- Tacos or Quesadillas: Shred the chicken and use it as a filling for tacos or quesadillas.
- On its own: Serve the chicken breast with your favorite sides, like mashed potatoes, roasted vegetables, or a simple salad.
The possibilities are endless! Don’t be afraid to experiment and find your own favorite ways to enjoy this versatile recipe.
Tips and Tricks for Success
Okay, my friend, I want you to feel totally equipped to make this recipe a smashing success! Here are a few extra tips and tricks to keep in mind:
- Don’t overcook the chicken: This is the biggest mistake people make when cooking chicken breasts. Overcooked chicken is dry and tough. Use a meat thermometer to ensure the chicken reaches an internal temperature of 165°F (74°C).
- Pat the chicken dry before seasoning: This helps the seasoning adhere better and promotes browning.
- Use a hot skillet for searing: A hot skillet is essential for getting a good sear. Make sure the skillet is hot before adding the chicken.
- Don’t overcrowd the skillet: If you’re cooking a lot of chicken, cook it in batches to avoid overcrowding the skillet. Overcrowding will lower the temperature of the skillet and prevent the chicken from searing properly.
- Let the chicken rest before slicing: Resting the chicken allows the juices to redistribute, resulting in juicier chicken.
- Get creative with the seasoning: Feel free to experiment with different herbs and spices to create your own unique flavor combinations.
- Consider a marinade: If you want even more flavor, marinate the chicken for a few hours (or even overnight) before cooking. A simple marinade of olive oil, lemon juice, garlic, and herbs works wonders. The SLOW COOKER LEMON CHICKEN recipe offers great guidance on how lemon can enhance the flavors.
Dealing with unevenly sized chicken breasts? As mentioned, pound those thicker parts with a meat mallet between plastic wrap for even cooking!
What if I don’t have an oven-safe skillet? No problem! Sear the chicken in a regular skillet, then transfer it to a baking dish before baking in the oven.
Melt-In-Your-Mouth Chicken Breast Recipe So Easy! (Detailed Recipe)
Here’s the complete, detailed recipe for your convenience. I know you’re going to knock this one out of the park!
Yields: 4 servingsPrep time: 10 minutes (plus 30 minutes to 2 hours for brining)
Cook time: 20-25 minutes
Ingredients
- 4 boneless, skinless chicken breasts (about 1.5-2 pounds)
- 4 cups cold water
- ¼ cup salt
- ¼ cup sugar
- 2 tablespoons olive oil
- 1 teaspoon paprika
- 1 teaspoon garlic powder
- 1 teaspoon onion powder
- ½ teaspoon dried thyme
- ½ teaspoon dried rosemary
- ½ teaspoon salt
- ¼ teaspoon black pepper
Instructions
- Brine the chicken: In a large bowl, combine water, salt, and sugar. Stir until dissolved. Add chicken breasts, ensuring they are submerged. Cover and refrigerate for 30 minutes to 2 hours.
- Prepare the seasoning: In a small bowl, whisk together olive oil, paprika, garlic powder, onion powder, thyme, rosemary, salt, and pepper.
- Preheat the oven: Preheat oven to 375°F (190°C).
- Season the chicken: Remove chicken from brine and pat dry. Brush seasoning mixture evenly over both sides.
- Sear the chicken: Heat a large oven-safe skillet over medium-high heat. Add chicken and sear for 2-3 minutes per side, until golden brown.
- Bake the chicken: Transfer the skillet to the preheated oven and bake for 15-20 minutes, or until the chicken reaches an internal temperature of 165°F (74°C).
- Rest the chicken: Remove the skillet from the oven and let the chicken rest for 5-10 minutes before slicing and serving.
Final Thoughts
There you have it! The secret to perfectly juicy, melt-in-your-mouth chicken breasts is now yours. Remember, the key is all about the brine, the gentle cooking method, and a little bit of love. Don’t be afraid to experiment with different seasonings and serving suggestions to make this recipe your own. And most importantly, have fun in the kitchen! Cooking should be enjoyable, so relax, put on some music, and let your inner chef shine. I know you’re going to create some absolutely amazing chicken breasts that will impress your family and friends. Happy cooking!
Why is brining the chicken so important for this recipe?
Brining the chicken is the most important step because it helps the chicken retain moisture during cooking. This results in incredibly juicy and tender chicken breasts. The brine allows the chicken to absorb water and salt, which helps to denature the proteins. Denaturing makes them less likely to tighten and squeeze out moisture when cooked.
What temperature should the chicken reach internally, and why is resting the chicken important?
The chicken should reach an internal temperature of 165°F (74°C). Resting the chicken for 5-10 minutes before slicing is crucial because it allows the juices to redistribute throughout the chicken, resulting in a more evenly moist and flavorful piece of meat.
What if I don’t have an oven-safe skillet? Can I still make this recipe?
Yes! If you don’t have an oven-safe skillet, sear the chicken in a regular skillet, then transfer it to a baking dish before baking it in the oven.
Can I adjust the seasonings in this recipe?
Yes, you can! Feel free to adapt the seasoning blend to your own preferences. You can add or substitute any of your favorite herbs and spices.
Melt-In-Your-Mouth Chicken Breast
Ingredients
Equipment
Method
- Brine the chicken: In a large bowl, combine water, salt, and sugar. Stir until dissolved. Add chicken breasts, ensuring they are submerged. Cover and refrigerate for 30 minutes to 2 hours.
- Prepare the seasoning: In a small bowl, whisk together olive oil, paprika, garlic powder, onion powder, thyme, rosemary, salt, and pepper.
- Preheat the oven: Preheat oven to 375°F (190°C).
- Season the chicken: Remove chicken from brine and pat dry. Brush seasoning mixture evenly over both sides.
- Sear the chicken: Heat a large oven-safe skillet over medium-high heat. Add chicken and sear for 2-3 minutes per side, until golden brown.
- Bake the chicken: Transfer the skillet to the preheated oven and bake for 15-20 minutes, or until the chicken reaches an internal temperature of 165°F (74°C).
- Rest the chicken: Remove the skillet from the oven and let the chicken rest for 5-10 minutes before slicing and serving.